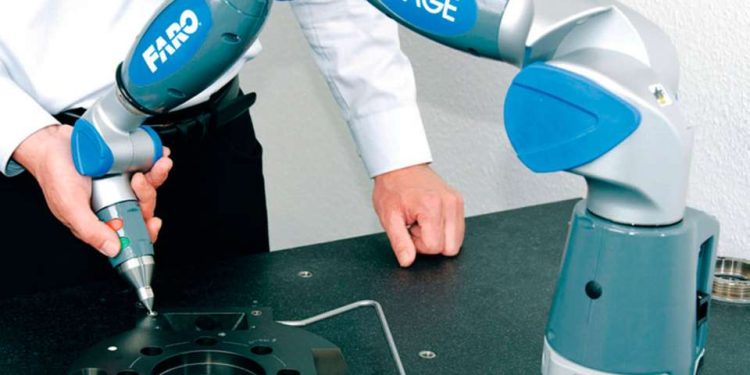
Thanks to the completely non-contact measurement, the acquisition of the measurement data is absolutely gentle on the object. Therefore, the method is also ideal for capturing individual items such as industrial prototypes and older parts for which no drawings are available. In general, 3D measurement is the right choice for all types of touch-sensitive objects.
3D measurement of complex shapes with high precision
Do you have the highest surface requirements? High-precision 3D scanner captures your entire measurement object with an accuracy of 0.01 mm; the repeat accuracy is 0.002 mm. The measuring system can measure larger components up to a width and length of 500 mm and a height of 250 mm. In addition, there is the measurement of the smallest parts, in which 16 million measuring points record the finest structures of the component.
The advantages of 3D scanning service:
- Fast and cost-effective : The 3D measurement enables us to record your components quickly and therefore cost-effectively for you.
- Non- contact measurement : Your component can be detected without any contact points or real cuts. Even cross sections can be digitally created non-destructively.
- Precise 3D measurements of complex components:
With up to 16 million measuring points, we can precisely record your object. The device has a calibration certificate and has a measuring accuracy of 0.01 mm and a repeatability of 0.002 mm. - Data transparency : We provide you with all previously defined scan data for further use.
Optical measurement: innovative technology with unique functions
3D scanning stands for speed with the highest precision, rapid availability of scan data and 3D measurement protocols and – if necessary – the surface data.
The functions:
- Non-contact and non-destructive plane and cross-section measurement
- Measurement of shape and position tolerances
- 360° 3D scan with true color display
- Colored representation of height deviations: CAD comparison measurement,
- Measurement object comparison measurement, wall thickness measurement
Comparative measurements: simply visualize deviations in color
- CAD comparison measurements: Check the measured data of the component by comparing it with the 3D CAD design file.
- Measurement object comparison measurements: Analyze changes in the appearance of the component before and after use with absolute precision.
- Wall thickness measurement : Analyze changes in the wall thickness of measurement objects without contact.
- 3D Color Imaging: Quickly visualize differences between surfaces.
Large parts, small parts
Fast, precise, cost-efficient: 3D scans offer you a number of convincing advantages. And this is how we proceed: Simply send us your parts for 3D measurement. Once the 3D scan created, we align the data according to CAD or drawing and carry out a target/actual analysis – depending on the task with form-position tolerances. You can also use other services as required. On request, we create new surfaces using reverse engineering (3D digitization) or enter changed tool data into the existing CAD.
Since the 3D models can be seamlessly exported to a large number of CAD and CAM programs, you can use them to carry out quality controls or the necessary measurements and, of course, generate data for your production from them.
This is what 3D scanning offers you
From industrial products to engines, machines and components to electrical and household appliances and consumer goods: the sectors, products and areas of application for optical measurement of components are diverse. The method can be used for:
- Product development
- Quality control
- Production


